Looking for some inspiration for a beautiful fall tablescape for your coastal home? Then please read on for pics and tips.
This is so beautiful! I love the mix of colors, the contrast of the dark woven placemats, and the use of eucalyptus and pine cones. Gorgeous.
This is a great way to use the whole length of the table. So simple, yet stunning. The branch contrasts beautifully with the white runner. It looks loose, casual, and homey. I love the candles in the placed in the small white pumpkins.
The additions of the scallop shell and starfish really say "coastal." The dried hydrangeas are perfect (Is there a better flower coastal decor? I think not.). The look is completed with acorns and rustic candle holders.
This is so simple and fresh. The color scheme is lovely and I really like the use of the shallow basket and small olive buckets.
Do you have a dough bowl? They're perfect for a fall arrangement. Here the blue, green, and white pumpkins look great with the addition of the pine cones and the kale adds an unexpected touch.
So simple and unfussy. A wooden bowl filled with mini white pumpkins and small gourds with a few leafy sprigs thrown in. .
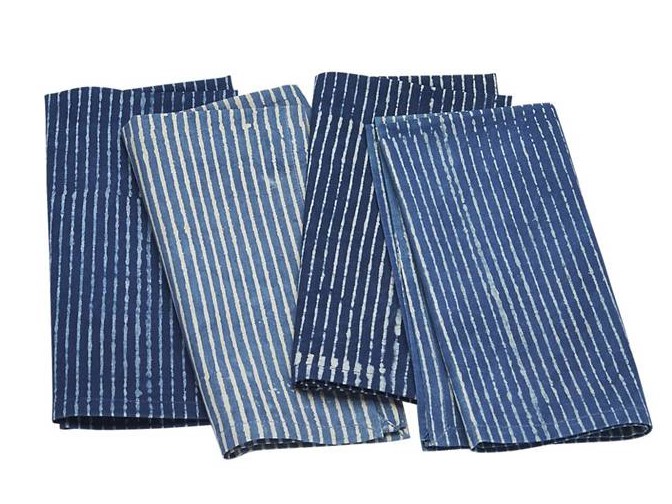
This look is so lush and bountiful! Pumpkins, squash, gourds, and kale arranged in a beautiful tray. The simple stripped table cloth sets it off perfectly.
So how can you create these looks in your own home? Here are some tips:
First, decide on a background. A beautiful wood table top is a a great backdrop, but you could also use a tablecloth, runner, or a piece of fabric or burlap. Select colors and textures that will suit your decor and your theme. I like nubby fabrics with a lot of texture and neutral colors, but anything that you really love will do--and it doesn't have to be traditional fall colors. Consider blues, greens, and grays.
Next, decide if you want to use some type of container. You could select a wooden bowl, a basket, an ironstone platter, a galvanized tray--really anything goes as long as it appeals to you. It's also fine not to use any type of container at all. You can just create your arrangement right on the table top. However, if you're going to need to remove your arrangement for meals, using some type of container does make this easier.
Now start collecting your materials for the arrangement. Pumpkins and gourds are the place to start. It's now possible to find pumpkins in a variety of colors including blues, greens, grays, and whites. I've used both real and faux pumpkins (which look pretty darn good, by the way). If you're planning to keep your tablescape around for the entire season, give serious thought to using faux pumpkins. Pumpkins start to go bad on the bottom, so you may not realize you have a problem until you have a real mess on your hands. I'm just saying. Also, if you can't find pumpkins in your preferred color, don't be afraid to paint them. This works on both real and faux pumpkins. Last year, I couldn't find enough small white pumpkins, so I bought some orange ones and painted them with Annie Sloan Old White.
After you have your pumpkins and gourds, collect some natural materials to fill in and add depth. Some of my favorites are:
- twigs and branches
- driftwood
- pine cones
- acorns
- shells and starfish
- moss
- hydrangeas or other dried flowers
- bundles of wheat or dried grasses
- eucalyptus
- ornamental kale
- vines
- dried artichokes
You also might want to incorporate a few candles into your arrangement. For safety reasons, put them in glass containers or keep them clear of any dried materials.
To create your arrangement, decide the basic shape you're going for. Do you want to keep everything contained around the center of the table or do you want a long arrangement that spans the length? Do you want to cover a large area or are you confined to a small space?
Once you have that figured out, start by placing the biggest elements (i.e. medium to large pumpkins) first. Then fill in with smaller pumpkins and gourds and any other sizable objects (starfish, pine cones). Finally fill in the gaps with twigs or grasses or whatever.
A few rules to keep in mind--in general, odd numbers of things look better than even numbers. When working with organic materials, keep the design loose and flowing, rather than rigid and symmetrical. Keep in mind the overall colors. Avoid having too many objects of the same color next to each other. The same goes for the visual weight of the objects. Don't group all of the dense objects together. Experiment! It's okay to take everything apart and start over again if you're not liking the way it's going. Just keep playing around with the material until you're satisfied. Don't forget to take a step back to see how your arrangement looks from a distance and be sure to walk around so you can see it from all sides. Don't aim for perfection--just have fun!