 |
| My inspiration |
 |
| My DIY version |
This is a super-easy project. You might even want to enlist your kids to help. Here's how to do it:
Materials:
- Blue or green matte glass ornaments. Mine came from Michael's (they were 60% off as of yesterday). You could also try plastic ornaments if that's what you have on hand. You could use non-matte ornaments too. I'm sure it would probably work just fine.
- Craft paints in gray, metallic silver, and metallic rose gold.
- Small foam brush.
- Small paint sponge.
Directions:
- Place dabs of each of the paints on a paper plate.
- Using the foam brush, dab the gray paint randomly on the ornament. Do not try to cover the entire surface. Just do random sections and don't try to make it look good at this point. Repeat with the silver paint and then the rose gold paint.
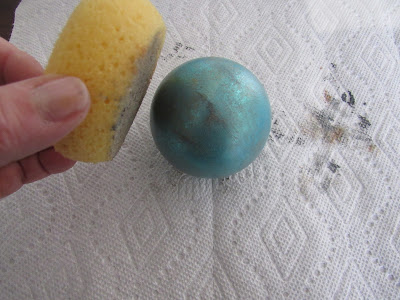
- Using the sponge, blot the surface of the ornament. Do not blend, just blot.
- Go back and add some additional colors to certain areas. I found that adding more gray to some areas really adds depth. A few extra highlights with rose gold really works well too.
And you're done! Go hang it on your tree and enjoy!
Have a Merry Christmas, everyone!


No comments:
Post a Comment