Friday, October 14, 2016

Bathroom Makeover

I'm not gonna lie. The upstairs bath in our house was the ugliest thing I've ever seen. Ever. Feast your eyes:

No, it's not your monitor. That vanity really is orange and blue.


And although you can't see it in these photos, the floor was carpeted...in 1980...and never replaced. The tan and blue wall tile had seen better days. I won't even start on the pink wallpaper.

Obviously changes were in order. I wanted to go with a classic, timeless look with a few nods to coastal style. I liked the idea of light gray walls, black and white tile, and accents of dark brown.

Tile--Home Depot; Shade--Overstock; Sconce--Restoration Hardware; Print--Art.com; Vanity--Amazon, Paint--BM Wickham Gray.

The first step--which was a huge money-saver--was having the existing tile and shower reglazed in white. Big change. Then we had the existing vanity, flooring, wallpaper and lighting removed, and tiled the floor in a classic black and white hexagonal pattern. The walls were painted in Wickham Gray by Benjamin Moore.

One thing that puzzled me, was how small the original vanity was. There was actually enough space for a double vanity and I wanted to take advantage of it. I found a great vanity on Amazon with a Carrara marble top, chrome faucets, three drawers, and a shelf for storage. I scored a large mirror with a dark brown wicker frame at Home Goods and some scones at the Restoration Hardware Outlet. I used a dark bamboo shade on the window and added some framed black and white boating photos.

Here it is all finished. This is a really hard room to photograph because of the configuration, but I think this gives you an idea.







Saturday, October 8, 2016

Coastal Thanksgiving Ideas

Now that the weather is beginning to really feel like fall, I'm starting to think about Thanksgiving. I like to stay away from the typical oranges and browns because they don't really work with my coastal decor. So this year I'm thinking of soft grayed neutrals, natural materials, and for a little sparkle, mercury glass.


Clockwise from lower left: Anton Paisley Table Runner in Neutral--Pottery Barn; Mercury Glass Acorns--Pier 1; Wood + Rope Lanterns--West Elm; Woven Fiber Placemats--World Market; Autumn Harvest Jacquard Napkins--Williams-Sonoma; Vine Twig Pumpkins--Crate & Barrel. Center: Plymouth Turkey Toile Platter--Williams-Sonoma.


Tuesday, September 27, 2016

How to Finish Butcher Block Countertops (with gel stain)


I've been planning to do this post for the longest time, but then I got busy with work and it never happened. So now that things have slowed down (a little), I'm finally getting around to doing it. So I've been wanting to show you how I finished my butcher block countertops. If you haven't seen it already, you might want to take a peak at the whole kitchen makeover which you can find here.


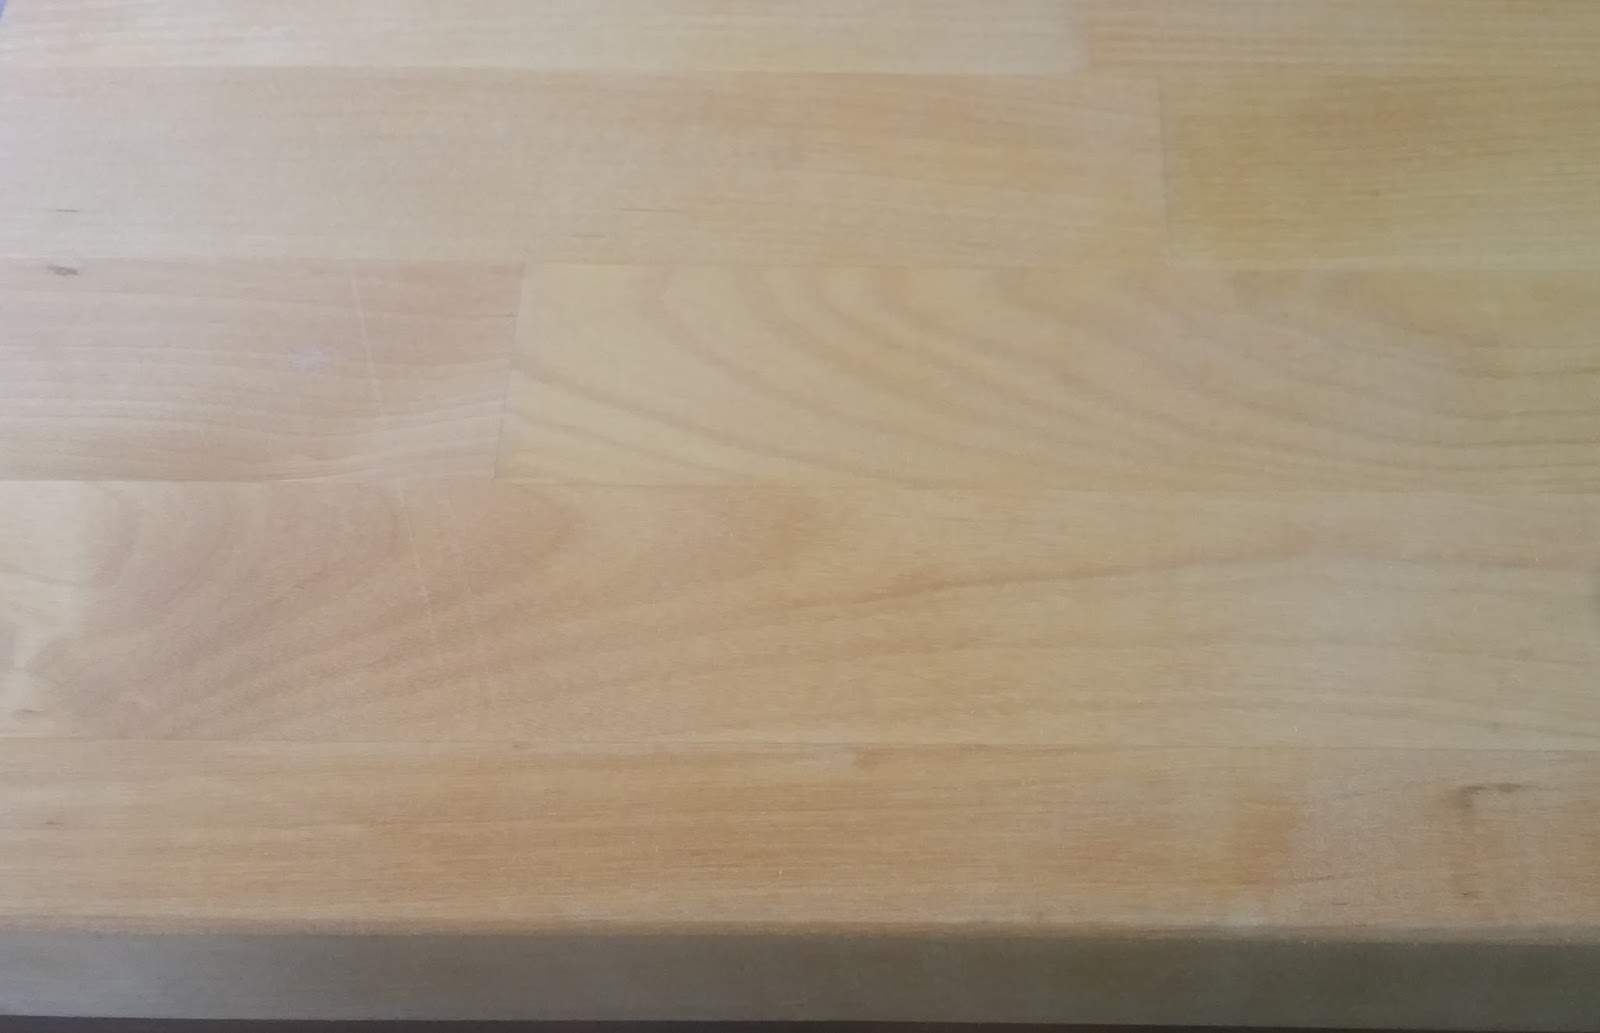
So first a little background. As I mentioned in the earlier post, everything in the kitchen is from Ikea. I had been planning to get oak butcher block, but when it came time to do the kitchen, the oak was out of stock. I didn't have time to wait for them to restock, because the contractor was ready to go and it was now or never. So I ended up with the beech countertops. Here's what they looked like.


I was really hoping for something darker that would be a nice contrast with the white cabinets and backsplash. I knew I'd have to finish them off in some way, but I wasn't sure how to go about it. I did a lot of research online. Many people recommended Waterlox, but here's the deal. The counters were already installed. I would have had to finish them in place and everything I read about Waterlox suggested that this was a project to do in the garage, not the kitchen. So I started looking into alternatives. Hey, how about stain and poly? But, one of the things that stumped me was the whole food-safe-finish issue. Then I started thinking it through. I don't prepare or eat food directly on the counters. Your average dining table is finished with stain and poly. How is this any different?


So then I started researching the stain and poly angle. The problem with beech is that is a soft and porous. I was worried about the stain looking blotchy. I finally decided to use a pre-stain conditioner, followed by gel stain, and finishing off with a wipe on poly.


The process was relatively simple.
  1. I sanded the countertops using a palm sander. Then I wiped everything down with a slightly damp rag to get rid of any dust or debris. 
  2. I applied the pre-stain conditioner with a foam brush and let it dry according to the directions.
  3. Then I brushed on a coat of  gel stain in Walnut. Now if you've never used gel stain, you should know it's different than other kinds of wood stain in that it doesn't soak into the wood as much as other stains. It's more like a translucent paint than a true stain. Do one section at a time and wipe off the excess before it dries.
  4. After letting the stain dry for 24 hours, I put on 3 coats of clear gloss wipe-on poly, letting each coat dry 12 hours.


The finish has held up beautifully. I highly recommend this method.


Tutorials and Tips Link Party button

I party with Remodelaholic

Tuesday, September 13, 2016

A Quick Furniture Makeover

I was looking for a new side table for the living room and was just about to head over to my favorite consignment store to see what I could find when I remembered I had an old table stashed in the basement. It was...humble to say the least and it's had a rather tough life.


We got the table because a previous owner had left it behind in our old house. No idea how old it is, but based on the rest of the furnishings that were left behind, I'd say it's from the 1940's or 1950's. We used it for the next 14 years and then it went through two hurricanes (Irene & Sandy), which flooded the whole house (2 inches from Irene and 2 feet from Sandy). Anyway, when we moved to the new house, it came with us, but it just ended up in a corner of the basement with the rest of the odds and ends. I thought it could use some TLC.

First, I sanded off the old finish on the tabletop. This took a while because the surface was so damaged. I mean I'm all for the distressed look, but this was BAD. There were rings from people putting down glasses without coasters, so I had to sand way down until I ended up with a fresh surface.


Looking better already! Then I stained the top a medium brown stain. I couldn't believe how good the wood looked once it was stained. When the stain was dry, I added two coats of Wipe On Poly in a satin finish.

I finished the legs with Annie Sloan Old White and then a wash of Paris Gray to tone it down a bit. A little light distressing and a coat of wax and I was done.


So this old table has a completely new look. And it works just fine in the living room!


Monday, September 5, 2016

Kitchen Reveal--Before & After


Well I finally got around to taking photos to show you how the kitchen remodel came together. To say that the original kitchen was awful, does not fully do it justice. My husband audibly groaned when he first saw it. I hated everything about it. It was dark, grimy, and inefficient. The cabinets were falling apart, the appliances didn't work, and the decor was not exactly my taste.


And here's how it looks now!


Here's another before shot:
And the after:


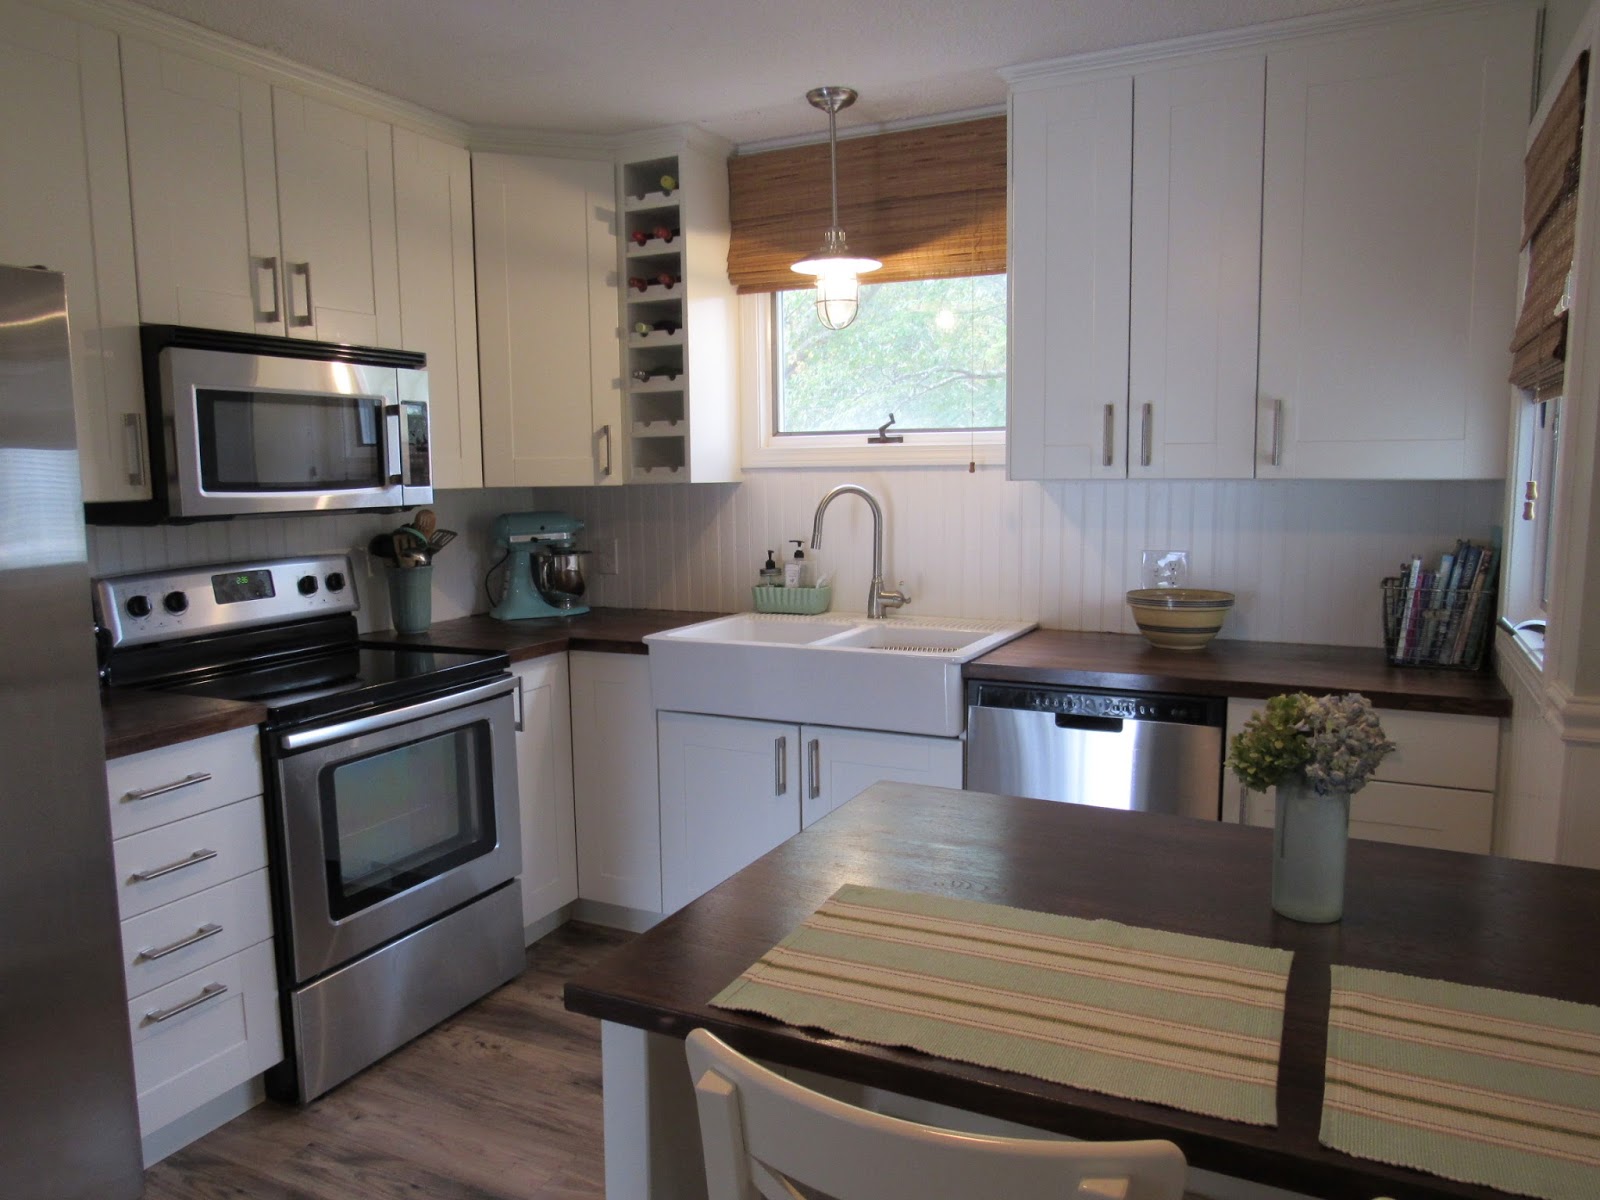
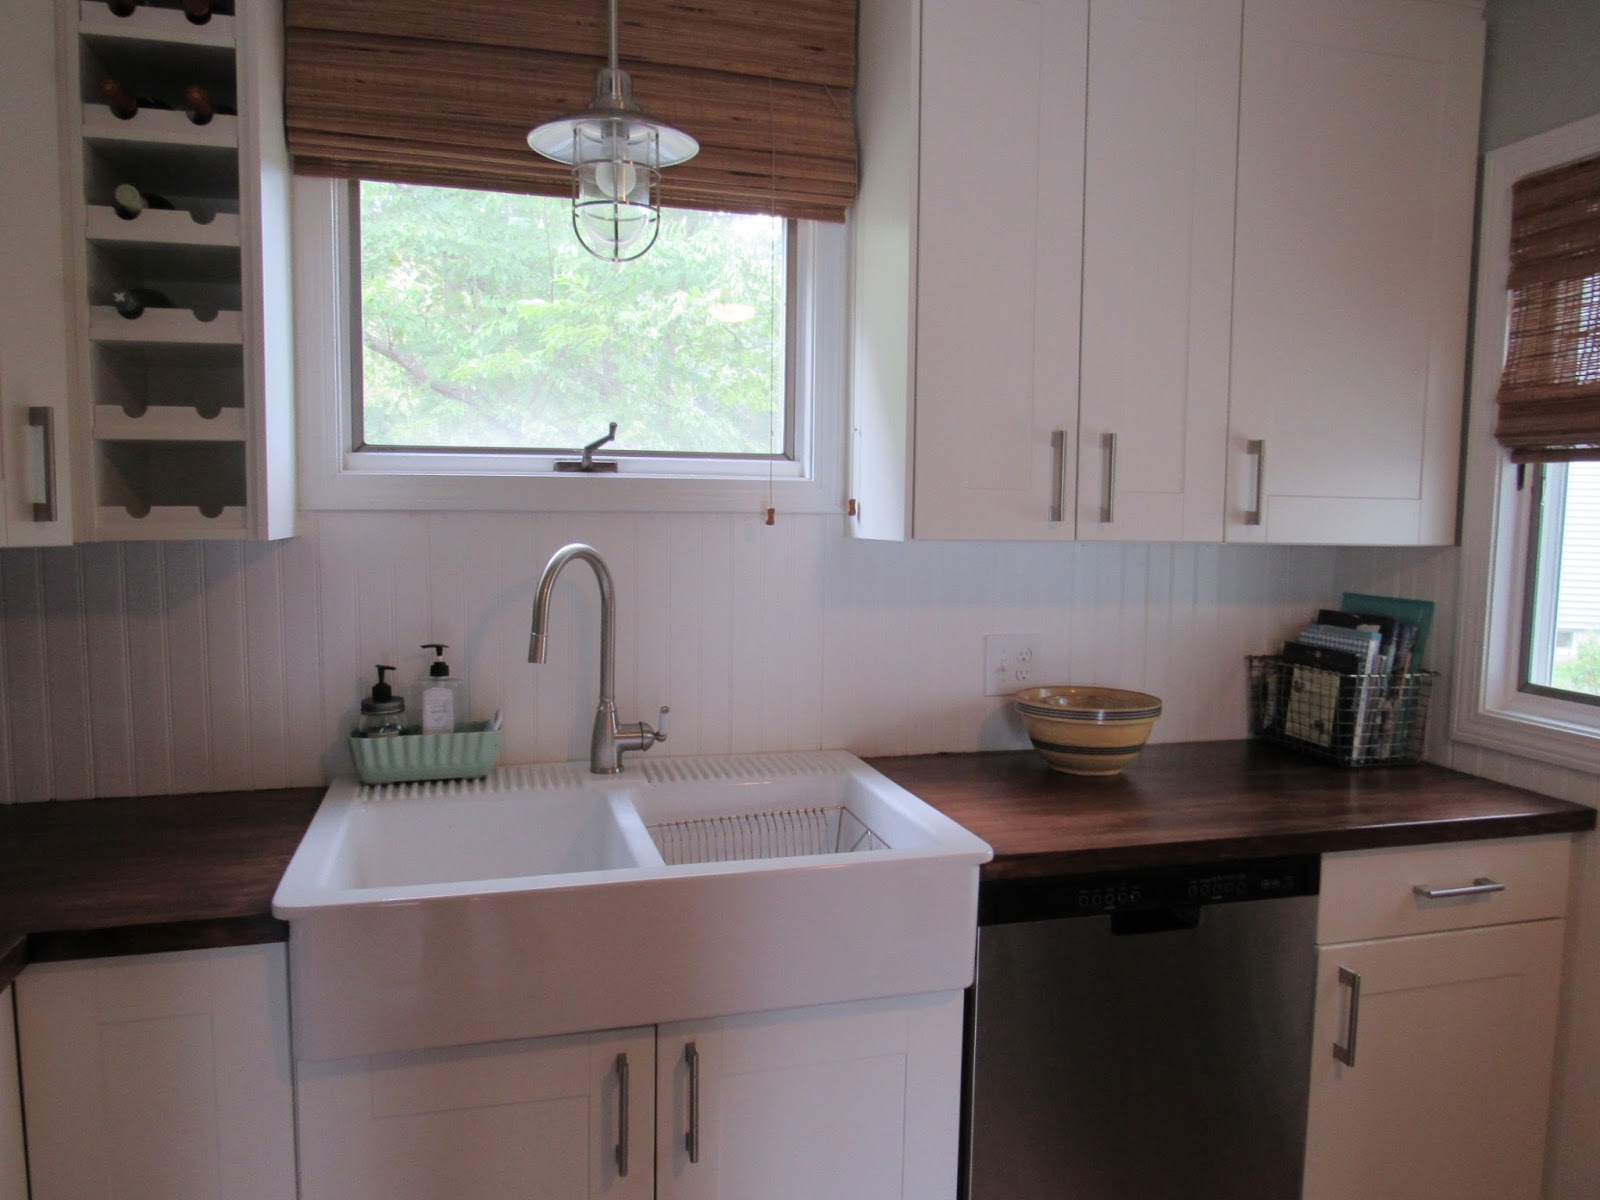
The total cost for labor and materials was around $11,000. The cabinets, counters, appliances, sink, faucet, island, and bar stools are from Ikea. I waited for one of their twice a year kitchen sales, so it was all 20% off. Huge savings! The counters are birch butcher block. I finished them myself after they were installed. I'll post that tutorial soon. I had the grimy tile backsplash replaced with beadboard panels. So perfect for a beach house and so easy to keep clean! The flooring is Reclaimed Chestnut laminate by Bruce Flooring. The walls are painted Gray Owl by Benjamin Moore. The trim is Super White also by BM. The pendant over the sink is from Pottery Barn Kids. The ceiling fan, which reminds me of a boat propeller, is from Home Depot. The roman shades are from Overstock.com. The yellow ware bowls are vintage and I've had them forever. The green vase with the cooking utensils and the green container by the sink are from the Brimfield flea market.The locker basket holding my cookbooks is from Old Lucketts Store in Leesburg, VA. The stand mixer is Kitchen Aid purchased on Amazon. The beach glass vase on the island is a DIY project. You can find the tutorial here.

There was almost no structural work done because I kept the original layout. This helped keep the costs down, too. The only change that was made was to replace the window to the right of the dishwasher with a smaller one so that the cabinets could extend all the way to the wall (they originally ended about a foot away). The window over the sink looks bigger, but it's not. I just hung the shade up near the ceiling to disguise the fact that the window is only about 15" high. I used 40" tall wall cabinets to bring them up to the ceiling, eliminating the soffit and giving me lots more storage space.

I'm so happy with my new kitchen! What a change! Here's one more look of the before & after.


Tutorials and Tips Link Party button

TDC Before and After